Canva is one of the most popular graphic design tools, widely used for creating stunning visuals for social media, presentations, blogs, and more. One of the key features that enhance your design efficiency in Canva is the ability to group elements. Grouping allows you to manipulate multiple objects as a single unit, making it easier to move, resize, or apply styles uniformly. In this extensive guide, we’ll explore the process of grouping elements on Canva Mobile, the benefits of grouping, and tips to maximize your design efficiency.
Why Grouping is Important in Canva
Grouping elements in Canva Mobile offers numerous advantages:
- Streamlined Workflows: Grouping allows you to adjust multiple elements at once, saving you time and effort when designing.
- Improved Organization: By grouping related items together, you can maintain a more organized workspace, making it easier to locate and manage your design components.
- Consistency: Grouping helps in maintaining consistent spacing and alignment among related elements, resulting in a professional-looking design.
- Enhanced Collaboration: If you’re working on a team project, grouping elements facilitates easier sharing and collaboration by ensuring everyone works with the same layout.
Step-by-Step Guide to Group Elements on Canva Mobile
Step 1: Open Canva Mobile
- Download the App: If you haven’t done so already, download the Canva app from the Apple App Store or Google Play Store.
- Log In: Open the app and sign in with your existing account or create a new account if you’re a first-time user.
Step 2: Create or Open a Design
- Start a New Project:
- Tap the “+” icon to create a new design. Choose from a variety of templates or create a custom-sized canvas depending on your needs.
- Open an Existing Design:
- If you want to group elements in an existing project, select the design from your profile’s dashboard.
Step 3: Add Elements to Your Canvas
- Access Elements:
- Tap on the “+” icon available at the bottom right of your screen.
- Choose from various options such as Text, Photos, Elements, Backgrounds, and Videos. Add the elements you wish to group by simply tapping on them.
- Position Your Elements:
- Drag and position the elements on your canvas as per your design requirements. Don’t worry about spacing too much at this stage; you can adjust everything later.
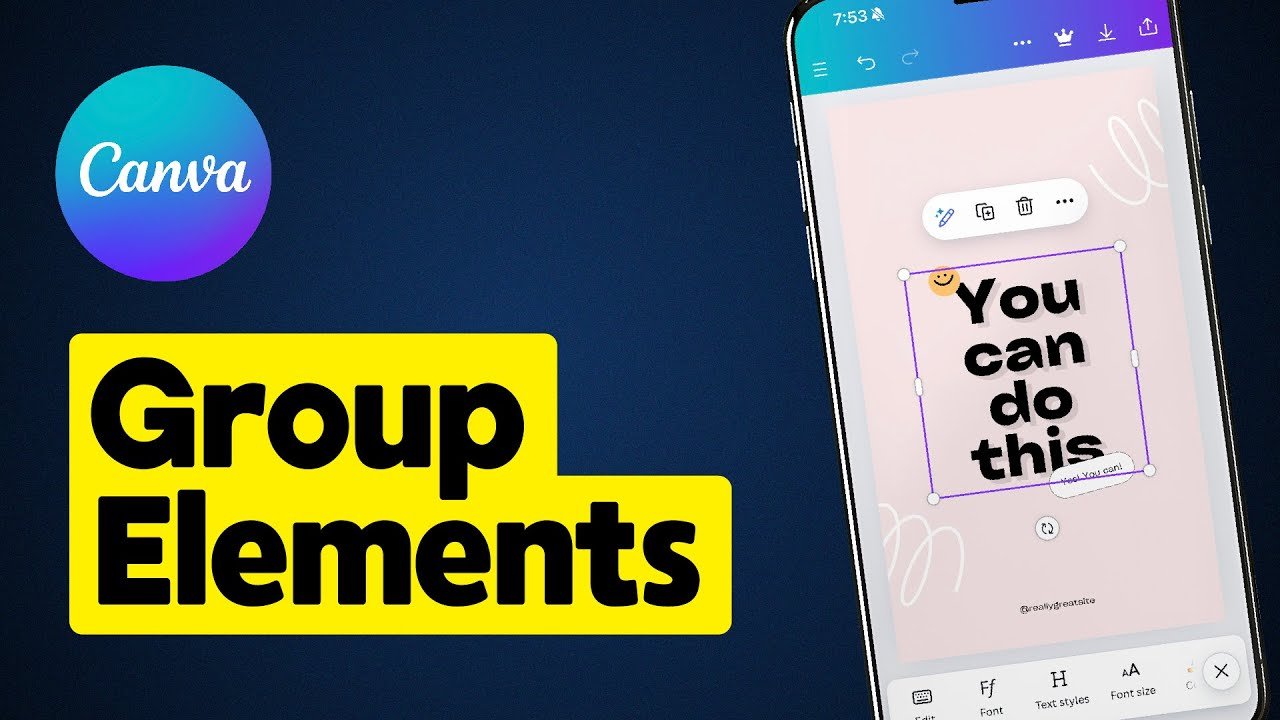
Step 4: Select Elements to Group
- Tap on the First Element:
- Tap on the element you wish to include in the group to select it.
- Select Multiple Elements:
- For the next element, tap and hold on to it until it highlights. To select additional elements, continue tapping on each desired item.
- Alternatively, you can tap the “Select” button near the top right corner if available, then manually tap on each element you want to include.
Step 5: Group the Selected Elements
- Group the Elements:
- Once the desired elements are selected, look for the Group button, which typically appears at the bottom center of your screen (it might look like a set of overlapping squares or rectangles).
- Tap “Group”. All selected elements will now be combined into a single group.
Step 6: Adjusting the Group
- Moving the Group:
- You can move the entire group just like a single element. Tap and drag the group to reposition it on your canvas.
- Resizing the Group:
- To resize, tap on the group to select it, then drag either of the corner handles. This will adjust the size of all items in the group proportionally.
- Rotating the Group:
- To rotate the group, hover your finger outside the corner of the group until you see a rotation icon. Then, drag to rotate the group to your desired angle.
Step 7: Ungrouping Elements
If you need to make adjustments to individual elements later, you can easily ungroup them:
- Select the Group: Tap on the grouped elements to select them.
- Ungroup: Look for the Ungroup icon at the bottom center of your screen and tap it. Your elements will revert to individual components, allowing for separate adjustments.
Step 8: Finalizing Your Design
- Make Additional Adjustments: After grouping, you may want to add more elements, adjust colors, or modify texts and graphics.
- Save or Share Your Design: Once you’re satisfied with your design, tap the download icon in the upper right corner to save it as a PNG, JPG, or PDF or share it directly through social media or email.
Tips for Effective Grouping in Canva Mobile
To maximize the benefits of grouping elements, consider the following tips:
1. Use Grids and Guides
- Utilize Canva’s grid layout options to help align elements accurately. This makes grouping easier and ensures your elements are perfectly organized.
2. Color Coding Your Elements
- When designing, consider using similar colors for related elements. This strategy can help you identify which elements to group hassle-free.
3. Group Similar Elements
- Group elements that serve similar functions or are visually related, such as icons, images, or text blocks. This enhances the visual harmony of your design.
4. Label Your Groups
- Although you can’t officially label groups in Canva Mobile, remember which elements are in which group mentally or through consistent naming conventions of your designs.
5. Test Before Finalizing
- Don’t hesitate to group elements for testing purposes but remember to ungroup and rearrange if necessary. Always strive for balance and harmony in your design.
Real-World Applications of Grouping in Canva Mobile
1. Creating Social Media Graphics
Incorporate various elements such as logos, images, and text blocks into a single cohesive design by grouping them together. This is especially useful for creating promotional posts.
2. Designing Presentations
Grouping visuals and texts in presentation slides can streamline the layout process and ensure consistent positioning.
3. Crafting Business Materials
Design business cards, brochures, and flyers where grouped elements can create distinct sections, enhancing readability and visual appeal.
4. Invitations and Event Announcements
Group RSVP details, event titles, and images to create beautiful and organized invitations for personal or corporate events.
5. Infographics
When creating infographics, grouping related information and visuals together can present data in a more digestible and engaging format.
Frequently Asked Questions (FAQs)
1. Is Grouping Available on Canva Desktop?
Yes! Grouping elements can be done on both Canva desktop and mobile versions, following similar steps.
2. What Happens When I Group Elements?
Once grouped, any scaling, rotating, or moving actions apply to the entire group. This simplifies adjustments and enhances design efficiency.
3. Can I Group More than Two Elements?
Absolutely! You can group as many elements as you want in a single group, making it versatile for complex designs.
4. Can I Undo Grouping?
Yes. If you mistakenly group elements, simply select the group and tap “Ungroup” to revert them back to their original state.
5. Are There Limitations on the Number of Elements I Can Group?
While there isn’t a specific limit to the number of elements you can group, having too many might make it difficult to manage. It is usually best to limit groups to a manageable number of related components.
6. Will Grouping Elements Increase File Size?
Grouping elements will not significantly affect your file size. The overall size is more influenced by the number of elements, images, and graphics you have in your design.
Conclusion
Grouping elements on Canva Mobile is a powerful technique that streamlines your design process, enhances organization, and allows for efficient and cohesive designs. Whether you’re creating beautiful graphics for social media, professional business materials, or stunning presentations, learning to effectively group elements will significantly elevate your design efforts.
By following the steps outlined in this guide, you can maximize your productivity and creativity in Canva Mobile. For more tips and inspiration on using Canva, explore the resources available at Canva’s Learning Center.
Now that you understand how to group elements in Canva Mobile, you’re ready to enhance your designs effectively. Happy designing!
ALSO READ